Posts

Showing posts with the label fourth grade

Neon Robots

Image
Fourth grade just started a new painting project called Neon Robots. We started out with a demonstration on how to draw 3D shapes. After a few sketches we started drawing on a 12x18 sheet of white paper and filled our robots with neon paint. The kids loved it. I've included my example but I will post the student examples when they are finished.  Note: Purchase a good quality neon paint the kind that I used is very thin and takes two coatings for a smooth look. My example is painted with one coat.
Zentangles

Image
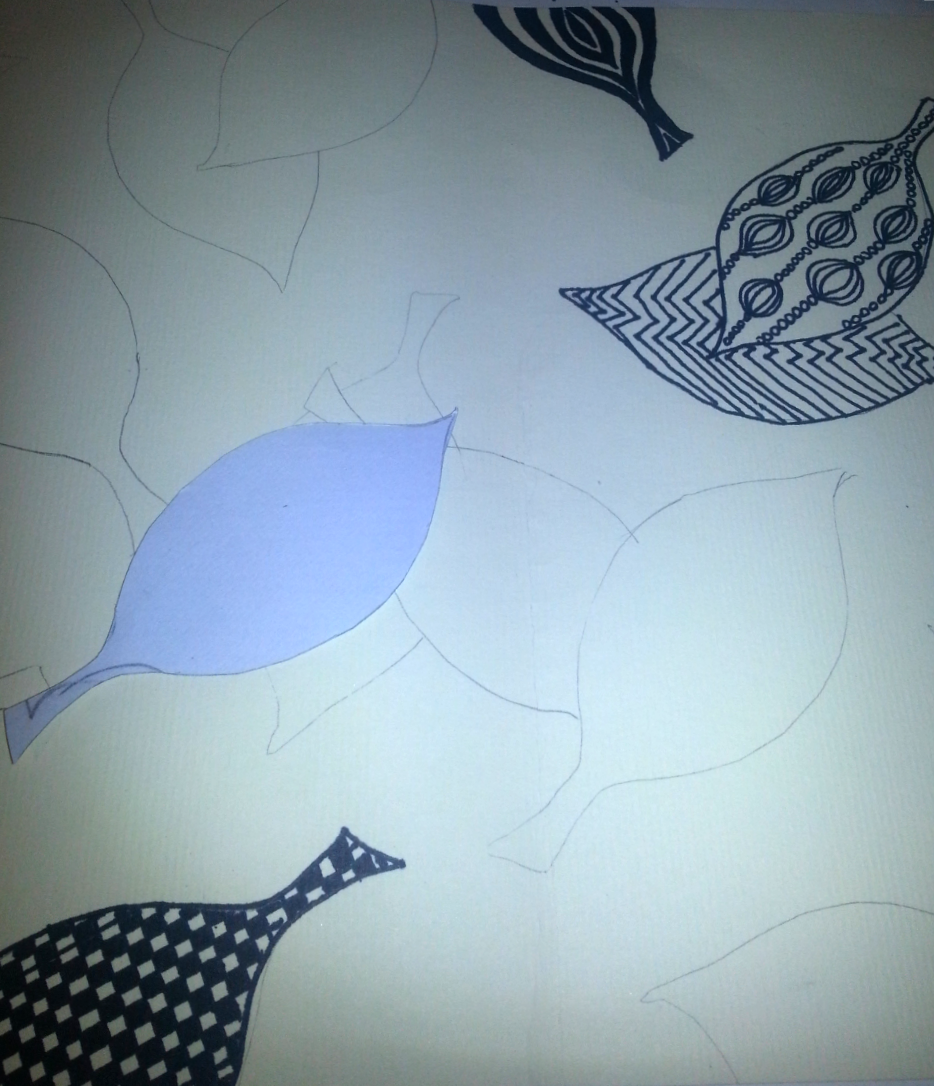
I love Zentangles! While on break I tried a cool leaf design using Zentangle designs inside the leaf pattern. I traced about 7-9 leaf stencils and used a few Zentangle designs in the center of each one. I used a sharpie marker for the outline. Later, I used watercolor for the background and focused on cool colors. I would like to try this lesson out in the future. I can see fourth grade on up doing something like this.

Line Design

Image
This is a lesson that reinforces the elements of art and principles of design (line,color, pattern and repetition).  We start out by dividing a 12x18 sheet of white paper with a black marker. Students may divide the paper using any type of line, remembering to make large sections to design in. After they divide the paper students use colored markers and begin designing using as many types of lines they can think of. (I have a large patter and line poster in the room when students seem to get blocked for ideas). I tell the students not to color in sections  but use the lines as the filler.              This Quality check board serves two purposes, one to show students what type of quality work I expect on all projects and this serves as a large scale rubric to show them what score is possible for the quality they give me on this Line Design project.

Symmetrical Faces

Image
  This is a lesson that I do every year with my fourth grade classes. They love being able to create any face they want.          Step one take two pieces of 9x12 contrasting colors of construction paper and fold them in half. If you fold it the long way the face will be elongated and if you fold it the short way like a book, the face will be wide.       Now, after you fold both sheets, cut them in half on the folded crease. Take one half of your paper and draw half of a face.                     Now, place both halves together and you'll get one whole face. Use the extra scraps to add details. I usually give my students specific details to add to see their cutting and gluing skills.(three part eyes, hair, neck and shoulders to start).   Here are a few finished and almost finished pieces.