Posts

Just a few clay projects

Image
  It's been about three weeks since my last blog...I promised myself that I would post at least once a week...life happens.   Recently my Ceramics class created a few cool projects that I would like to share. The first project is clay pumpkins. Students were given the opportunity to create a unique clay pumpkin using the skills learned so far in class. I think that they did a great job.         My Ceramics class also created a few clay tile relief projects. Our main subject was the Koi Fish. I love Koi fish they are so unique and beautiful. The last project that we are working on is "Sparky" from Frankenweenie the movie. I just received some Scholastic Art Magazines and they had a great article about Tim Burton and careers in sculpting character puppets. My 7th and 8th grade students really enjoyed doing this project. I will post more pictures later of their finished work.   ...
Clay Clocks

Image
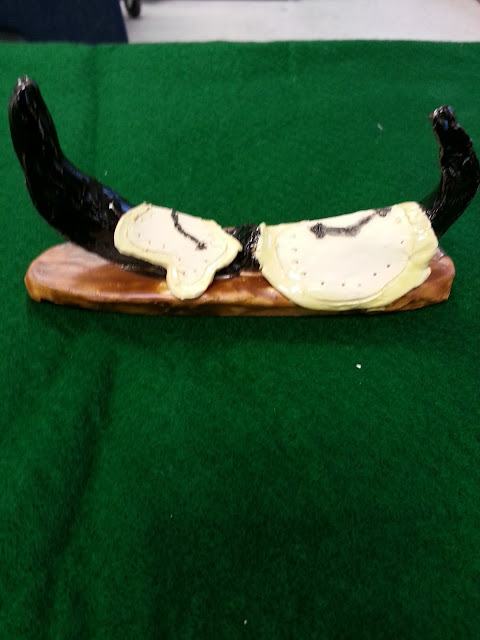
 My ceramics class created clocks inspired by Salvador Dali's "Persistence of Memory". Each student sketched out their idea first. Then created a their piece using clay. The motivation was to create a clock design that would be memorable. Students used the slab handbuilding methods to create these unique designs.

What's in the attic? Part 2

Image
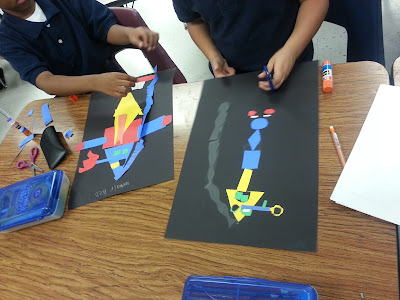
I just started part two of this unit with my third graders. I posted a couple of weeks ago a lesson called "What's in the attic?" this is a drawing lesson based on a short story about a silly character who lives in an attic. Students based their drawing on the description of the character in the story. Well...now we are continuing this lesson but using our cutting and gluing skills. Here are a few examples. My third graders were really excited about this project.

Overlapped Shapes

Image
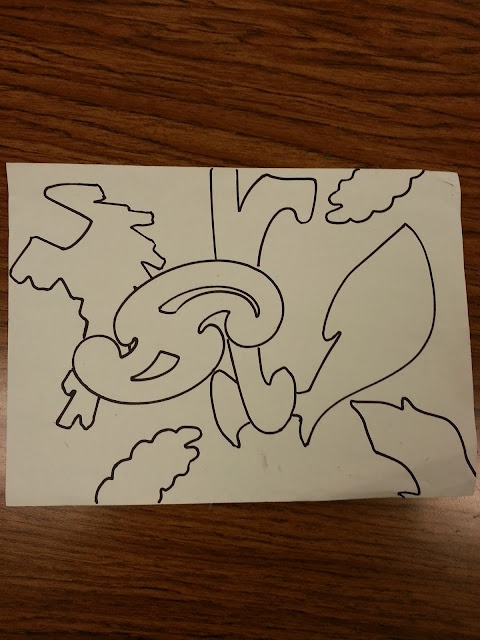
  Each year I give fifth grade a review lesson on elements of art.  Students use shapes, texture and color in this lesson.   Students learn to overlap shapes by erasing lines that are within a shape. They may use all organic shapes or mix them with geometric shapes.  Later, we color the entire paper with marker and finally add texture by adding glue and then sprinkle glitter over the paper. Every things better with glitter! Lastly, we mount our designs on to construction paper.              Brighter colors really make the artwork stand out the best.

Art Fundraiser

Image
My art fundraiser is going great. In two days I have raised $200.00. I have students, parents and organizations donating old broken crayons for this fundraiser and I only have to purchase the molds  (with a few coupons they are cheap).  The kids and parents love the crayons. I will start getting new shapes each month. So far I have stars, hearts, little figures, pumpkins and leaves. I just ordered football shapes for my sports fans. All of the proceeds go towards purchasing art supplies through out the year.  I am so excited!   Check out some of our crazy color combinations.          

Make money using old crayons!

Image
          How many of you art teachers have tons of broken crayons that you get so sick of looking at? I did..notice I said I did.   Well, I came up with a great way to reuse those crayons, but also make some money for art supplies in the process. I am making shaped crayons from old broken crayons from last year.   I melt the crayons down in a rubber mold and sell the crayons to the students 2 for $1.00 or $.50 a piece. The kids love them I don't have to spend any money to make them and the art room can buy more supplies as the year progresses.  I make them in a variety of colors and shapes.     Why didn't I think of this before!     They are so cool! Here are two of my crayons. I will use open house as a way to advertise to parents.  

What's in the Attic?

Image
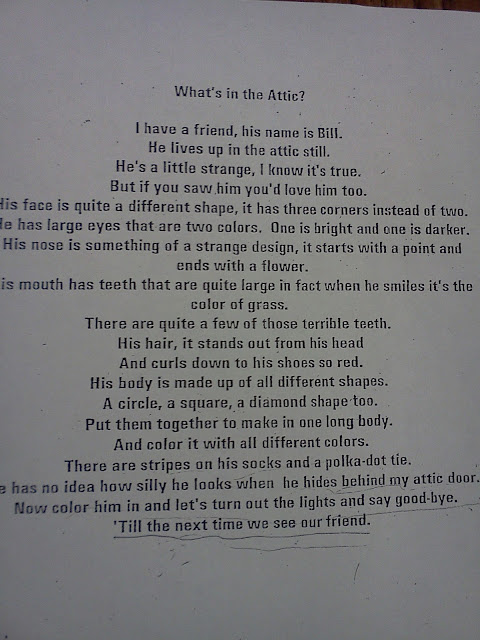
    My third graders are starting with this lesson this week. It's a great way to incorporate reading and comprehension in art. We start out by reading this short passage which is called What's in the Attic? After we read the story aloud I ask the students to describe Bill in the story.   After we have discussed each description the students receive a large piece of white paper and draw Bill using the story. The kids love it! The next day of art is when I show them my example..(students tend to want to copy my example) so I wait a day and allow them to create their own first. We use markers for color and I also have them create the attic.             Here is an example of what Bill could look like.